

Let's convert an image color using OpenCv in visual studio.


There are different color
conversation in OpenCv. Before converting an image, we need to consider about
the image types. Some common image color types and number of channels are as
follow.
Image color type
|
No: of channels
|
BGR
|
3
|
RGB
|
3
|
BGRA
|
4
|
RGBA
|
4
|
GARY
|
1
|
XYZ
|
3
|
YCrCb
|
3
|
HSV
|
3
|
Lab
|
3
|
Luv
|
3
|
HLS
|
3
|
YUV
|
3
|
BGR
image
BGR which means Blue Green Red, image is stored in a structure
or unsigned integer. When it is about the occupied area Red occupying the least
significant "area”, Green is next, and Blue is last.
RGB
image
RGB which
means Red Green Blue images are also same but only difference is order of
occupying area. Blue occupying the least significant "area” Green the
second least, and Red the third least.
BGRA
image
RGBA which means BLUE GREEN RED ALPHA
images are simply a use of extra alpha channel information in
usual RGB color model.
RGBA
image
Same as BGRA image only
difference is significant order of color image
XYZ
image
XYZ image is a 3- channel
float image.
HSV
image
HSV
means Hue, Saturation Value images.
·
H
(Hue): hue is a number from 0 to
360 degrees. It represents hues of red which starts at 0, yellow which starts at 60, green
starts at 120, cyan starts at 180, blue starts at 240 and magenta starts at 300.
·
S (Saturation):
Saturation is a percentage which represents the amount of gray in the color. (0
to 100)
·
V (Value): Value is represents the brightness. It describes the brightness or intensity of
the color in percent by conjunction with saturation.
Lab
image
This is three channel
image. One channel for lightness (L) and other two channels for a & b.
The color space is much
better to digital image manipulations than the RGB space. It is very common in
many image editing programs such as sharpening images.
Example 1
#include "opencv2/core/core.hpp"
#include "opencv2/highgui/highgui.hpp"
#include "opencv2/imgproc/imgproc.hpp"
#include "iostream"
using namespace cv;
using namespace std;
int main()
{
Mat img;
img = imread("C:/Users/hashan/Desktop/progtpoint.jpg", CV_LOAD_IMAGE_COLOR);
if (img.empty())
{
cout << "Error loading img" << endl;
return -1;
}
Mat grayimg;
cvtColor(img, grayimg, CV_RGB2GRAY);
namedWindow("Original_image", CV_WINDOW_AUTOSIZE);
imshow("Original_image", img);
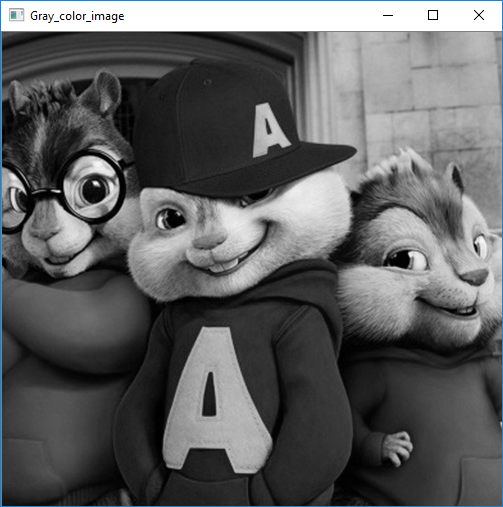
namedWindow("Gray_color_image", CV_WINDOW_AUTOSIZE);
imshow("Gray_color_image", grayimg);
cout << "No: of channels(original
image) : " << img.channels() << endl;
cout << "No: of channels(gray color
image) : " << grayimg.channels() << endl;
waitKey(0);
return 0;
}
Explanation

You can check the available conversion types in OpenCv
by right click on the conversion type and go to definition.

In this example I converted RGB image to Gray color
image. Output is follow.


- Thank you very much for reading this tutorial.
- If you have problems regarding this tutorial feel free to make a comment below or contact us by sending message through our facebook page or by sending email to this address progtpoint@gmail.com
- Follow us on facebook and Twitter also subcirbe us youtube


Tutorial 5's guidance on image color conversion is enlightening. Exploring methods to alter image hues, tones, and palettes is pivotal in graphic manipulation. How Protect Theft This skill equips learners with a valuable toolset for image editing and creative endeavors.
ReplyDelete