

Change
Brightness
Add constant value to every pixel or subtract the
constant value from every pixel in an image is simply called as changing
brightness.
Original Image

Increase brightness by 50 units

Decrease brightness by 10 unit

In here I consider 5-10 is equal to 0. Because a pixel
can’t have a negative value. A value of a pixel is bounded below by 0 and above
by 2^(bit depth).
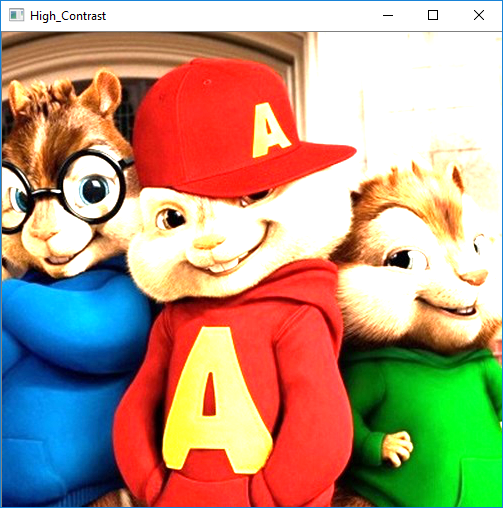
Change
Contrast
Changing contrast of an image means every pixels are
multiply by constant value which is greater than 1. Or divide every pixels by a
constant value which is greater than 1.
Original image


Half contrast of an image

Let’s try some examples.
Example
1
=====================================================
#include "opencv2/highgui/highgui.hpp"
#include <iostream>
using namespace std;
using namespace cv;
int main(int argc, const char**argv) {
Mat img = imread("C:/Users/hashan/Desktop/progtpoint.jpg", CV_LOAD_IMAGE_UNCHANGED);
if (img.empty()) {
cout << "Erro Load IMG" << endl;
}
Mat Bhigh = img + Scalar(75, 75, 75); // increase brightness by
75 units
Mat Blow = img - Scalar(75, 75, 75); // decrese brightness by 75 unit
Mat Chigh = img * 2; // double contrast
Mat Clow = img / 2; // half
contrast
namedWindow("Original_Image", CV_WINDOW_FULLSCREEN);
namedWindow("High_Brightness", CV_WINDOW_FULLSCREEN);
namedWindow("Low_brightness", CV_WINDOW_FULLSCREEN);
namedWindow("High_Contrast", CV_WINDOW_FULLSCREEN);
namedWindow("Low_Contrasts", CV_WINDOW_FULLSCREEN);
imshow("Original_Image", img);
imshow("High_Brightness", Bhigh);
imshow("Low_brightness", Blow);
imshow("High_Contrast", Chigh);
imshow("Low_Contrasts", Clow);
waitKey(0);
destroyAllWindows();
}
===============================================================
Example
2
=====================================================
#include "opencv2/highgui/highgui.hpp"
#include <iostream>
using namespace std;
using namespace cv;
int main(int argc, const char**argv) {
Mat img = imread("C:/Users/hashan/Desktop/progtpoint.jpg", CV_LOAD_IMAGE_UNCHANGED);
if (img.empty()) {
cout << "Erro Load IMG" << endl;
}
Mat Bhigh;
Mat Blow;
Mat Chigh;
Mat Clow;
img.convertTo(Bhigh, -1, 1, 75);
img.convertTo(Blow, -1, 1, -75);
img.convertTo(Chigh, -1, 2, 0);
img.convertTo(Clow, -1, 0.5, 0);
namedWindow("Original_Image", CV_WINDOW_FULLSCREEN);
namedWindow("High_Brightness", CV_WINDOW_FULLSCREEN);
namedWindow("Low_brightness", CV_WINDOW_FULLSCREEN);
namedWindow("High_Contrast", CV_WINDOW_FULLSCREEN);
namedWindow("Low_Contrasts", CV_WINDOW_FULLSCREEN);
imshow("Original_Image", img);
imshow("High_Brightness", Bhigh);
imshow("Low_brightness", Blow);
imshow("High_Contrast", Chigh);
imshow("Low_Contrasts", Clow);
waitKey(0);
destroyAllWindows();
}
===============================================================
Explanation

Example 1 & 2 have same outputs. Outputs are as
follow.


The video demo is shown in below.
- Thank you very much for reading this tutorial.
- If you have problems regarding this tutorial feel free to make a comment below or contact us by sending message through our facebook page or by sending email to this address progtpoint@gmail.com
- Follow us on facebook and Twitter also subcirbe us youtube


Great tutorial! Adjusting contrast and brightness like this can totally improve how game visuals appear, especially for detailed textures in the Dark Souls Map . Loved the clear explanation and practical example!
ReplyDelete